How To Create An Art Wall
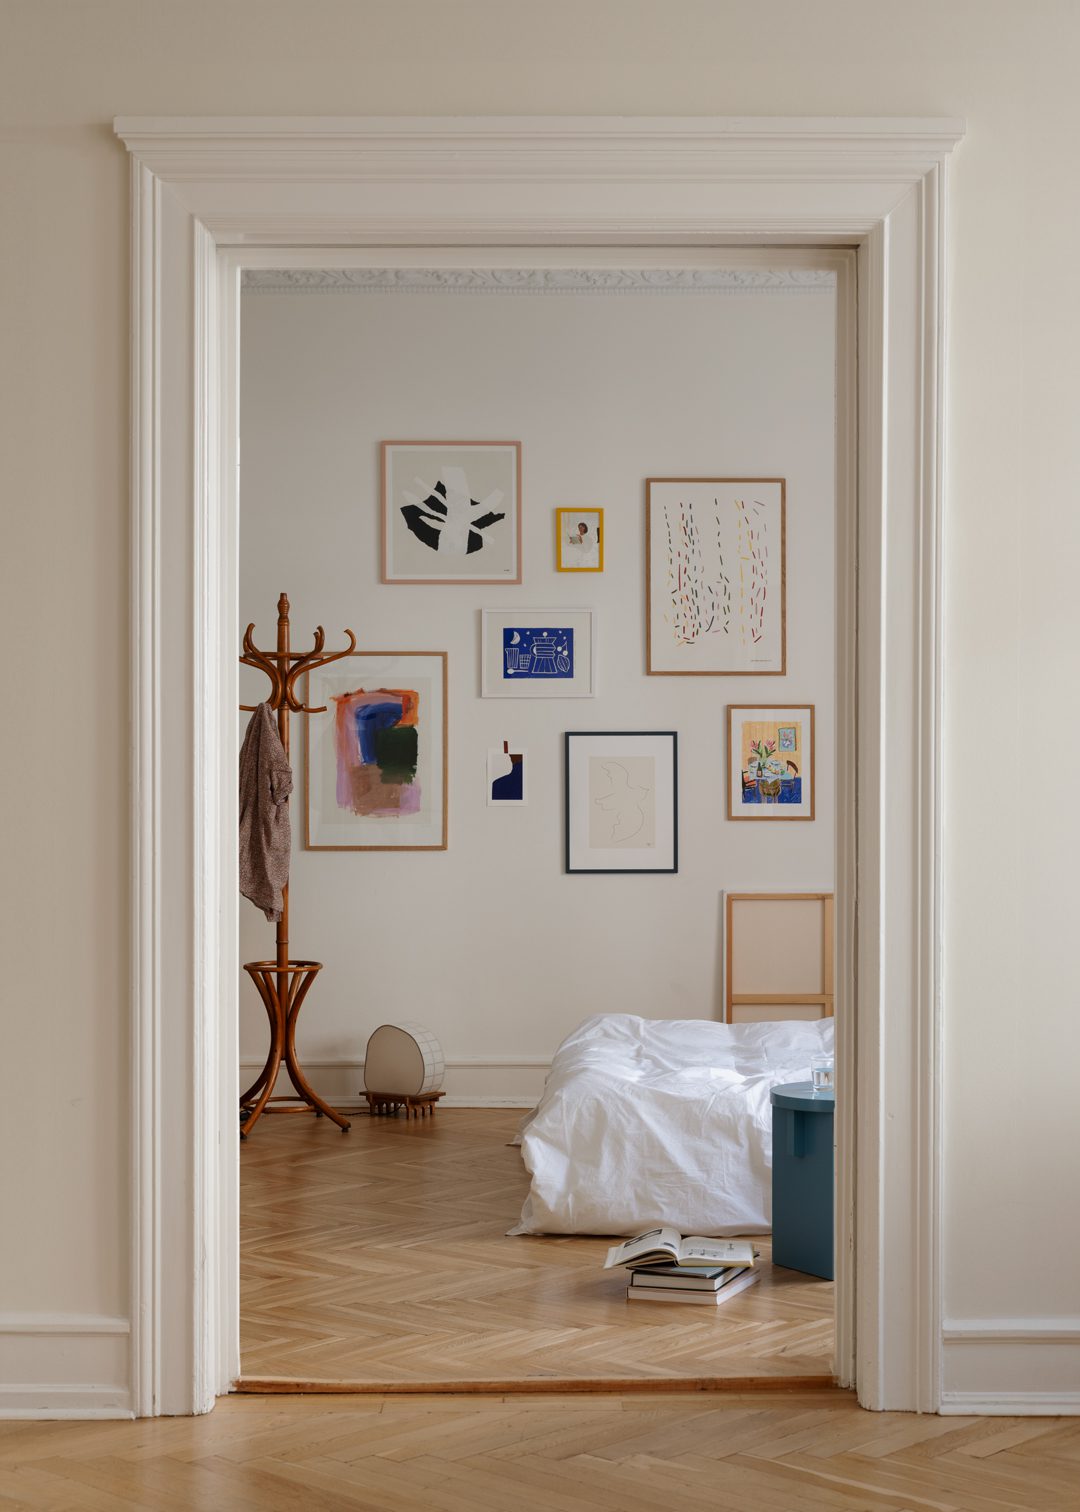
Creating An Art Wall
Interior Notes
Art wall, poster wall, gallery wall. Whatever you prefer to call it, creating a display of multiple framed artworks is not as hard and intimidating as one might think. All you need is preparation, a few tools, and our simple step-by-step guide.
An art wall is a great way of displaying your beloved art in a dynamic and interesting way. It adds a focal point in the room and can be designed to fit into any space of your home. From outlining a reading nook or hanging in your dining room to decorating your entrance.
However, there is an art to curating an art wall that cohesively creates one visual piece, with each work contributing to the final aesthetic. Your artwork may be carefully picked and loved, but they do not necessarily fit together even though they are all your favourites. There are a few things to consider including the choice of art and frames, as well as how to hang it and where.
So before you start hammering, read through our simple step-by-step guide on how to create an art wall – and get our creative team’s tips and inside knowledge.
You are only 4 easy steps from your new art wall
1 — RESEARCH RESEARCH RESEARCH
This may be the most important step: Figuring out your overall style and theme for your art wall and sketching out an initial layout.
2 — MEASURING
Play around with different layouts and consider if the frames should be aligned or hung in an asymmetrical pattern. Make sure to also measure out the spacing between the art prints.
3 — FINAL SELECTION
It is time to select and buy your final art prints whether that be a couple of pieces or a full art wall. Do remember that the choice of frame is just as important as choosing the art.
4 — HANG UP YOUR ART WALL
Lay out your framed art on the floor for one final peek at your coming art wall. Now hang up your art – and remember not to hang it too high.

Step 1: Research, research, research
Gathering inspiration is the first and most vital step of creating an art wall. And you should not only search for the prints and artworks you want to purchase. More importantly, you should start out by brainstorming different colour palettes or an overriding theme. Putting thought into whether you want a subtle pop of colour like a blush tone or keep it all neutral with delicate lines and organic shapes.
Themes, colours, or different styles can be mixed infinitely – but keeping one cohesive element for all your pieces will help your art wall blend together elegantly.
The key tool for this is putting together a mood board. Great places to gather inspiration are Instagram and Pinterest. And if you need somewhere to start feel free to visit our own Instagram feed or check our current Pinterest mood board for endless gallery wall inspiration.
When collecting your research make sure to take into consideration different sizes as well as various styles of art. Mixing together a delicate drawing and bold graphics can create a completely new dynamic.
Step 2: Measuring
Knowing the size of your wall is a good place to start. Measure out how much space you want your art wall to take up, before buying any new pieces or hanging up your precious heirloom. You can get a better visual understanding of how your art wall should look (and how big it should be) by applying ’empty frames’ made with paint tape onto the wall.
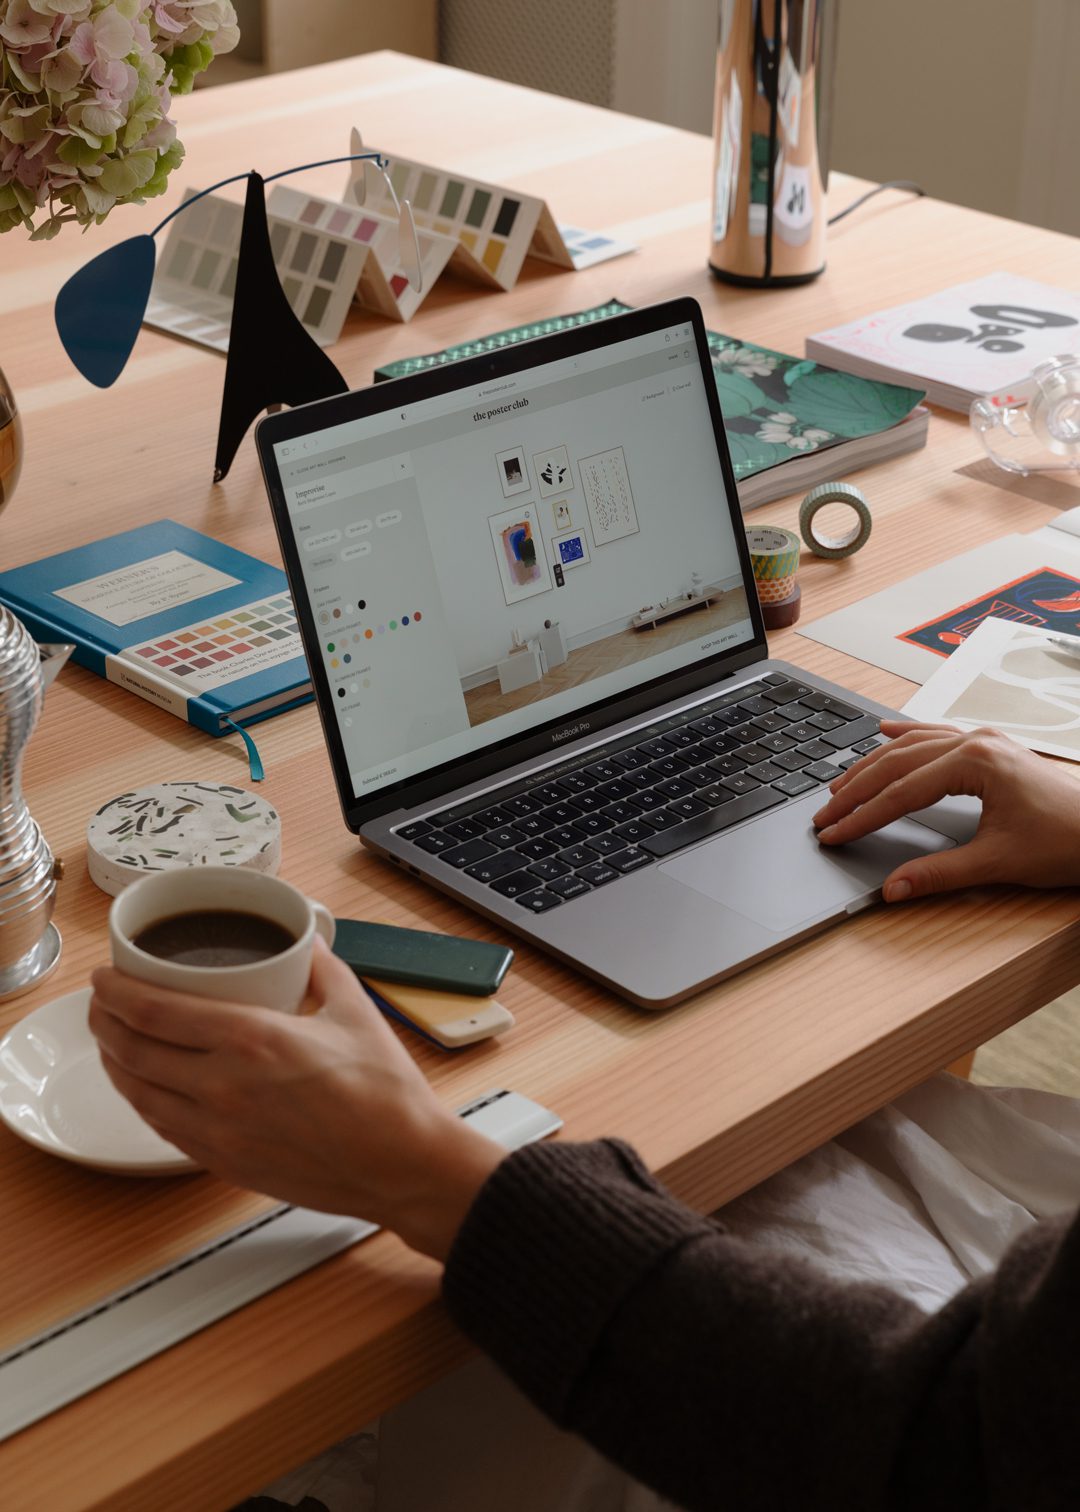
If you are artsy or know how to use a professional drawing tool you can play around with sketching out different layouts before applying the empty frames to your wall to inspect the result. And if drawing yourself or with a professional tool is out of reach, do not worry – you can also use a standard writing program on your computer. Try inserting pictures found online of your future artwork to get a feeling of how the different patterns and textures interact with each other.
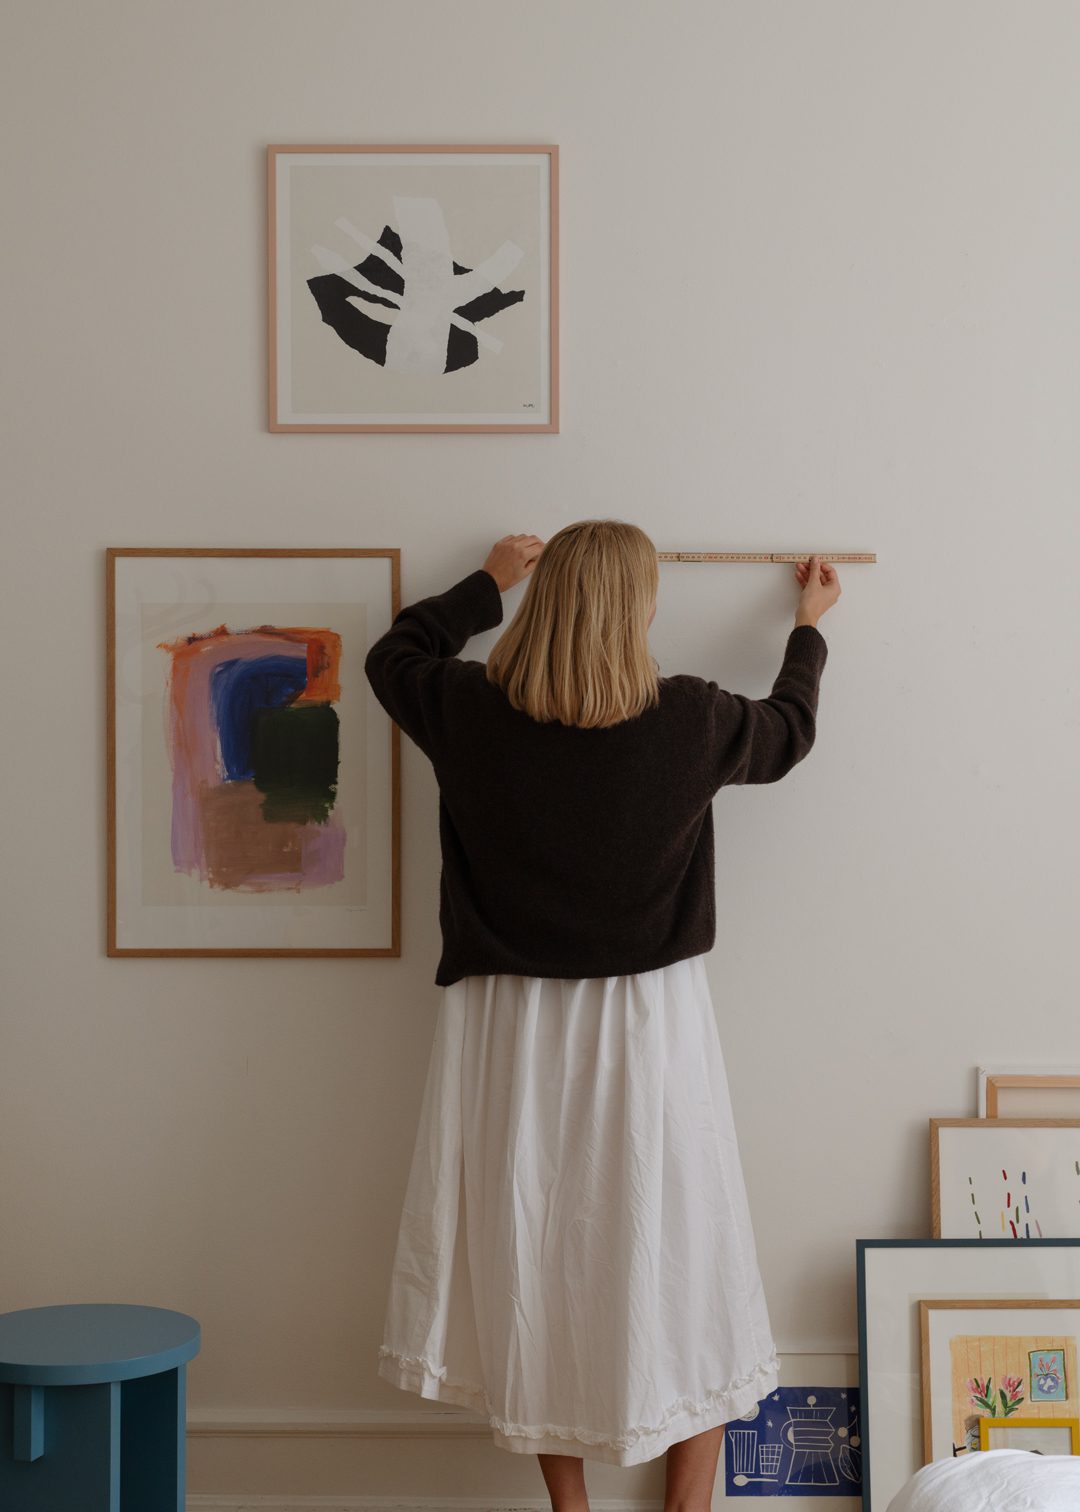
STYLING TIP Remember to take the distance between each artwork into account. It is crucial as it helps the art breathe and stand out separately as well as being part of a whole. In the end, it is down to personal taste how much space you want between each piece, but we would recommend somewhere between 3 – 10 cm to ensure the overall look is pleasing to the eye.
Take your time and remember that Rome was not built in a day. Make the process enjoyable and try out numerous different layout options. Should the edges of the frames be aligned creating a sense of symmetry – or do you want everything to be slightly off-center. The options are truly endless.
Once you have found a layout you like, do take a photo of it and save it for later reference.
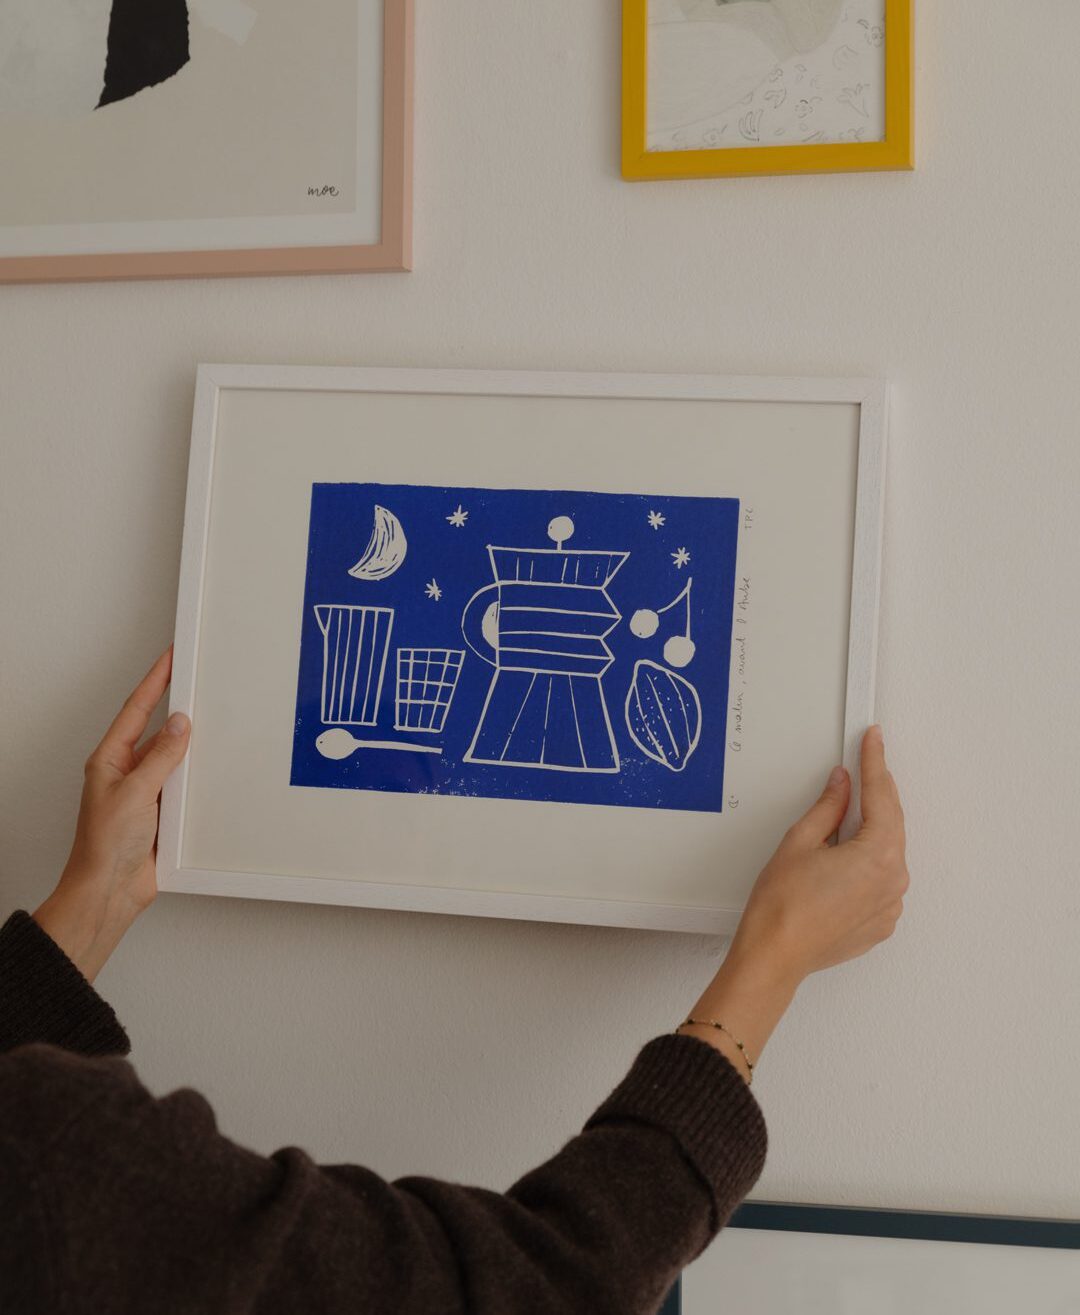
Step 3: Final selection
At this point, you should have a more clear idea of how many prints there will be in your art wall, sizes, and the overall feel you want to bring to your space. Now the fun part begins: Shopping for just the right art prints and pieces. Either to create a complete art wall or to supplement pieces of art that you already own.
When planning your art wall do also consider the frames. Whether you go modern with monochromatic frames or mix and match different colours and types of frames, your framing can bring just as much style and personality to your space as the artwork itself. Taking into account different textures or colours – and choosing well-made, high-quality frames – is a vital step to achieve your art wall of dreams.
If you feel like being creative, The Poster Club offers a range of beautiful frame paint colours, created in collaboration with File Under Pop. The Frame Paint allows you to renew old frames and transform the expression of any artwork.
At The Poster Club, we want to make it easy and enjoyable to assemble your art wall. This is why we always offer free framing when you buy one of our frames with your chosen art print. Browse through our selection of wooden and aluminium frames and find just the right style for your home.
If creating a gallery wall yourself seems too daunting – or you just need a spark of inspiration to get started – be sure to visit our curated art wall designs.

Step 4: Hang up your art wall
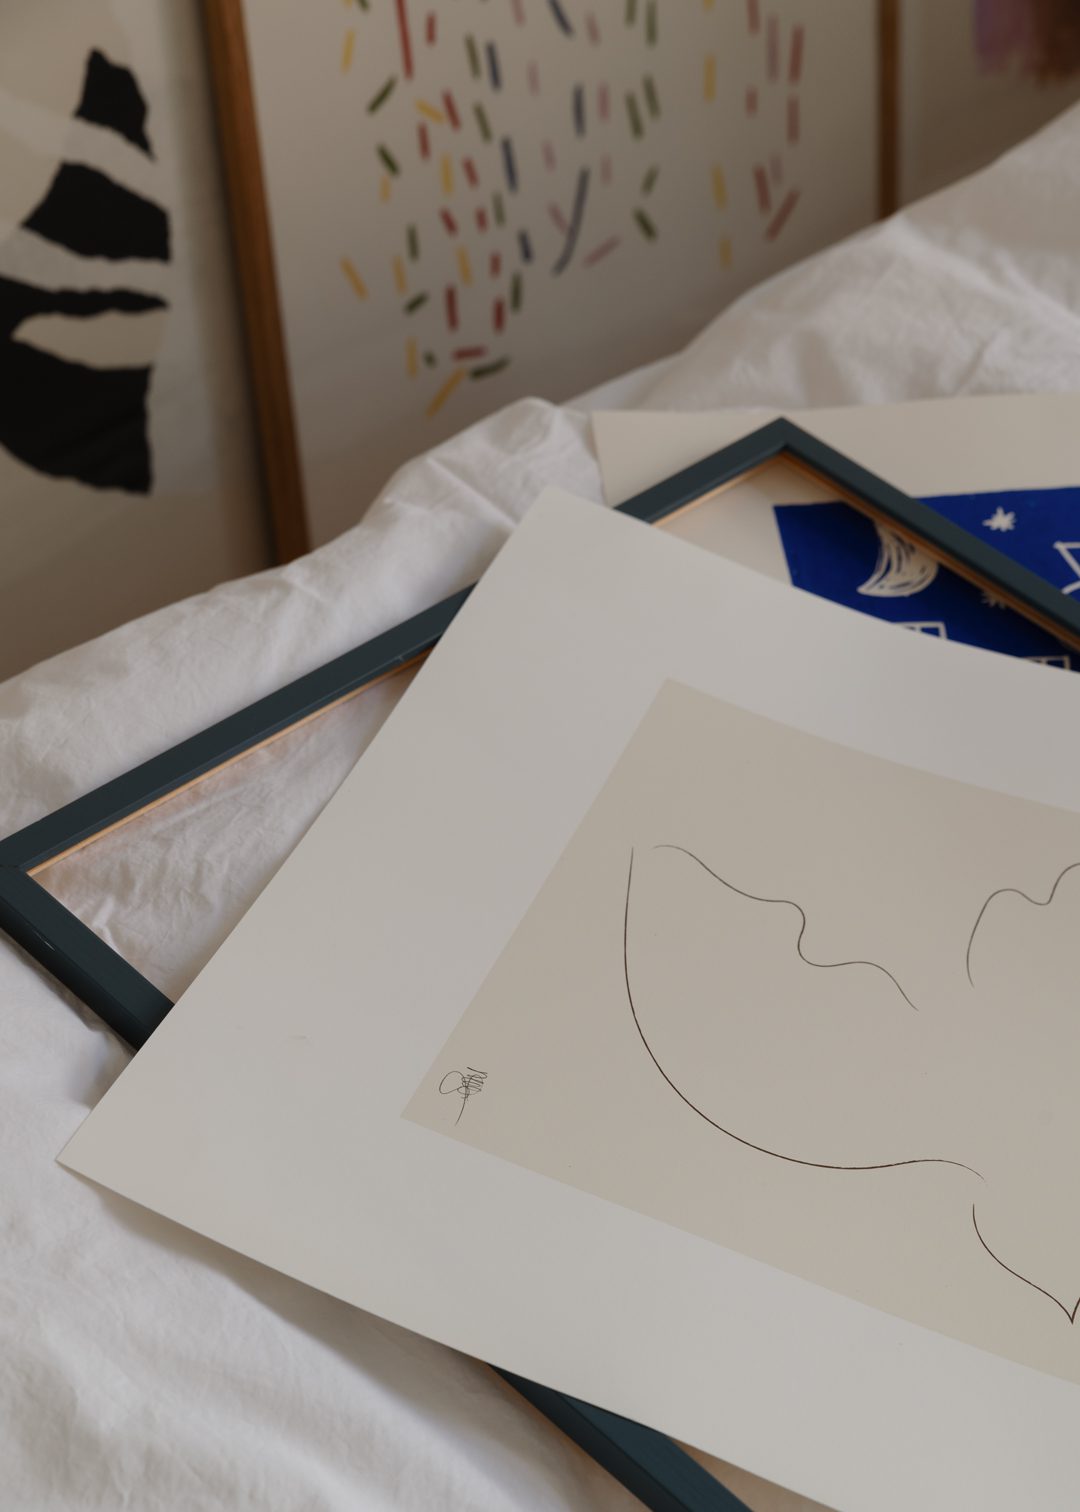
Before measuring out where to hang your art wall – start by laying down your framed art on the floor in the layout you have decided. Look out for cohesion and spacing, and do not be afraid to change things up if you are not feeling it.
It is time to decide where the center of your gallery wall is going to be. It is easy to be tempted to hang your artwork too high. However, the center of your art wall should be approximately 1,5 m. from the floor. This represents the average human eye-height and is often used as a standard in galleries and museums. Doing this throughout your home will create a sense of balance because all of your art will share a visual midline.
Now, all there is left to do is to hang up your well-planned, perfectly measured, and beautifully matched art wall. You just need a good pocket ruler, a spirit level, and patience.
STYLING TIP Use low adhesive tape to keep spacing consistent between frames
When the last nail is hammered into the wall and every piece of art is leveled out, pour yourself a well-deserved cup of coffee, sit back and enjoy.